
Next, tap into the search bar in the upper right corner and search for the single word groundcloud…
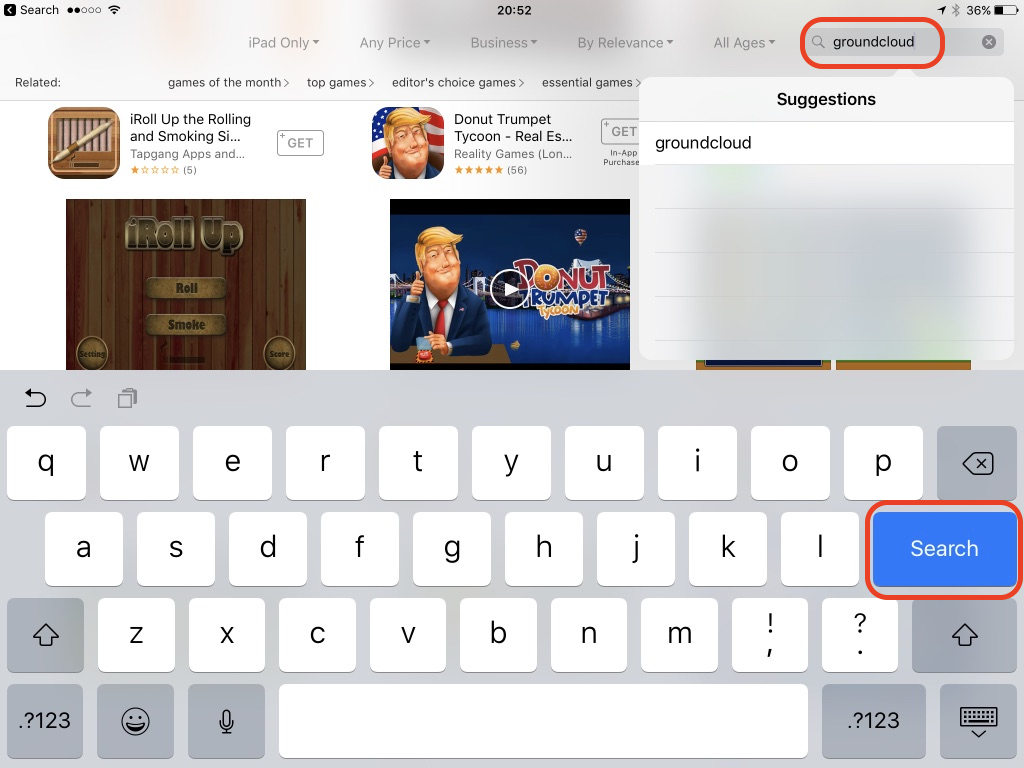
…and then tap the “Search” key
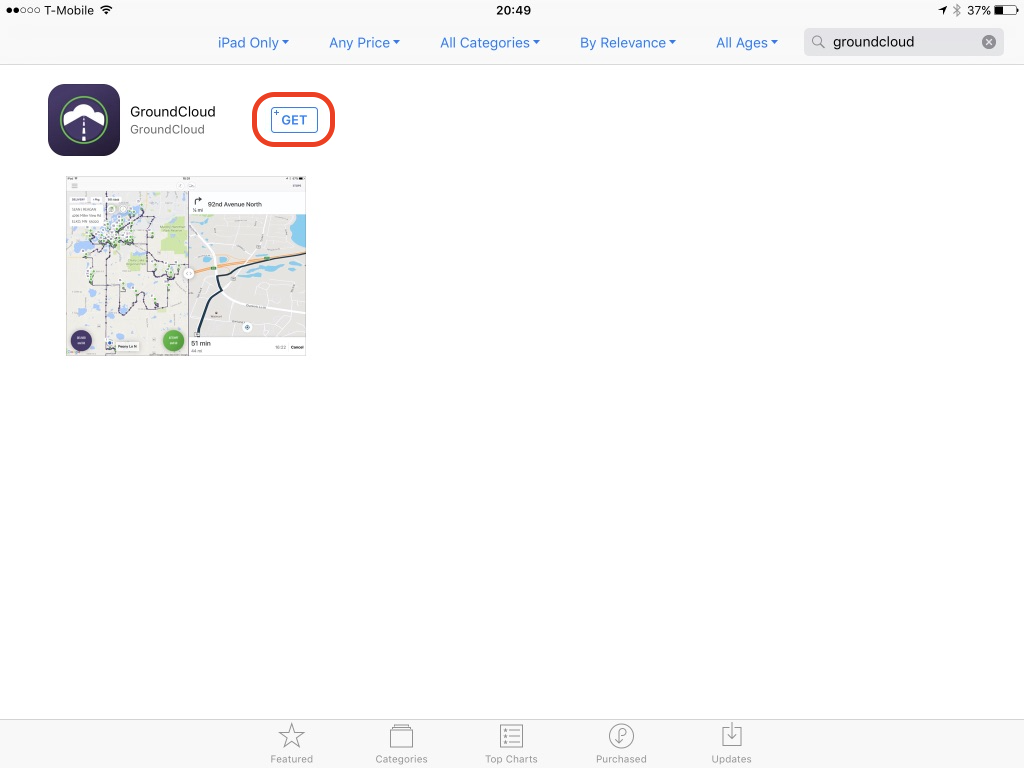
When the GroundCloud app is found, tap the “Get” button to install it:
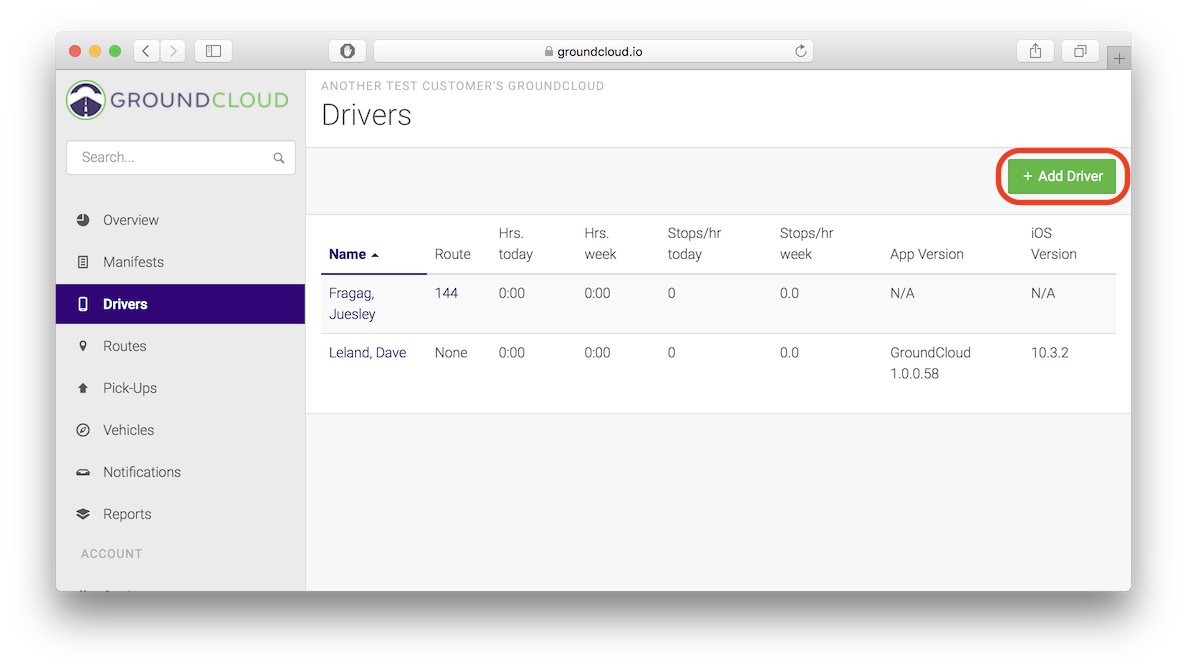
To fully activate the app (just a one time thing) it’s important to log in with a DRIVER user account. Log into your GroundCloud management portal and click on Drivers, then click on the “Add Driver” button:
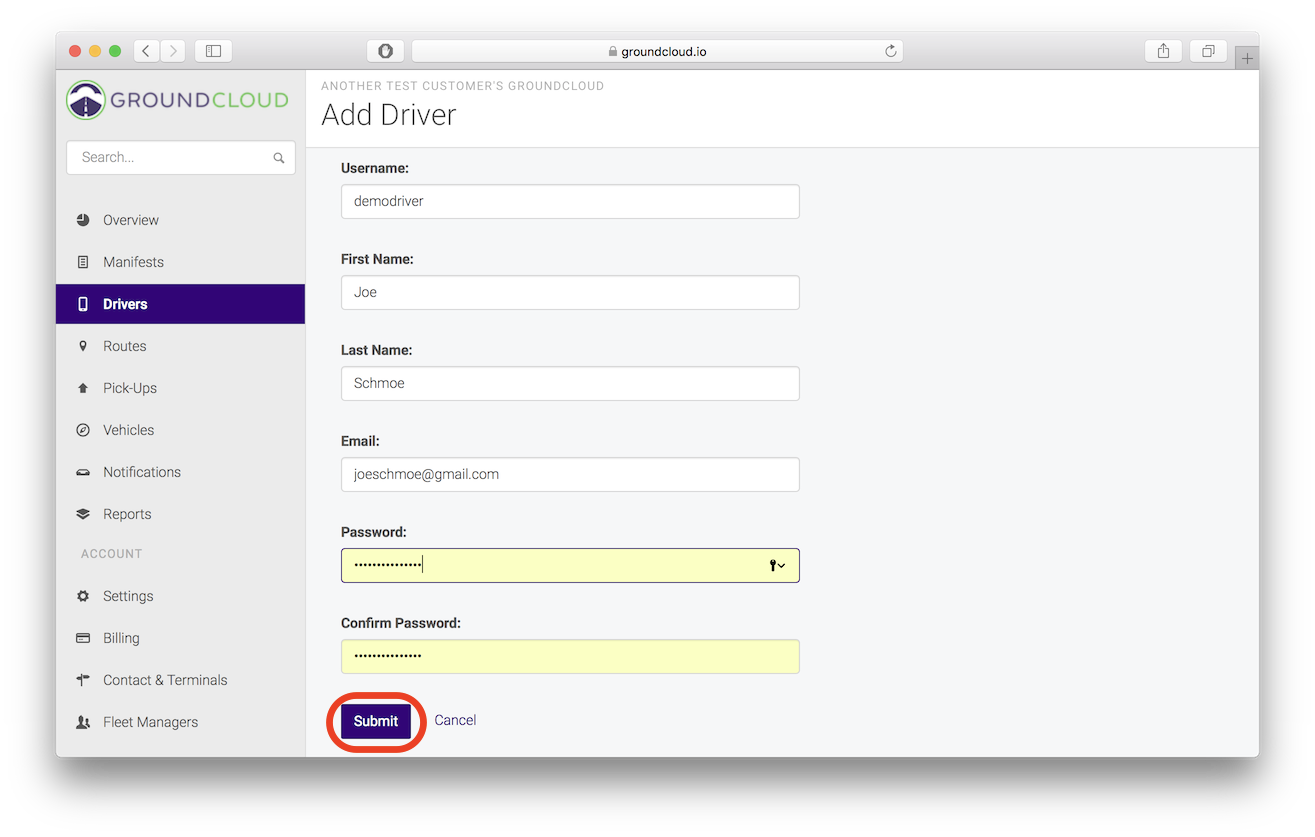
Create a driver’s username, then enter the driver’s first & last name, email address, and create a password. Finish by hitting the “Submit” button.
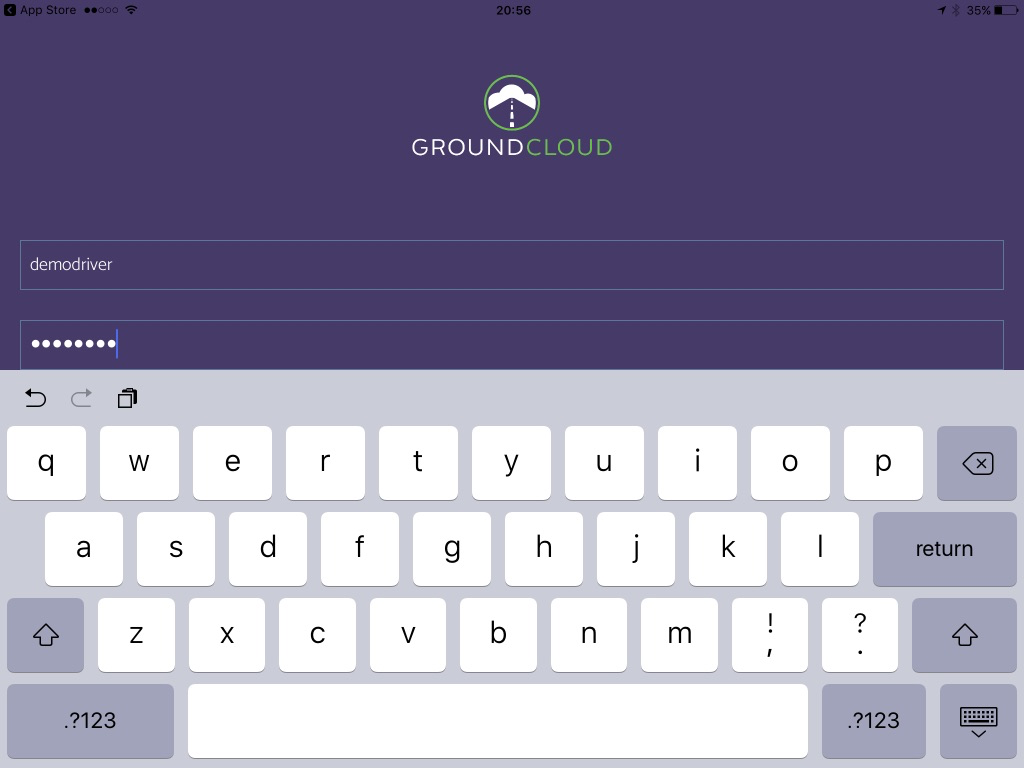
Now back to the iPad, open the GroundCloud app and enter the driver’s username & password you just created, then hit the “Return” key:
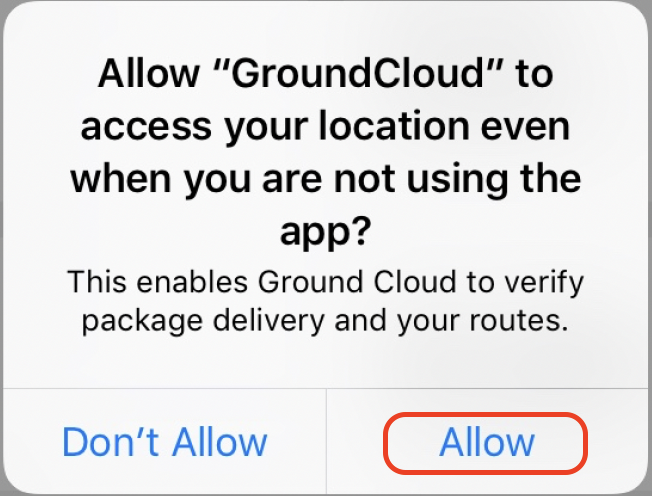
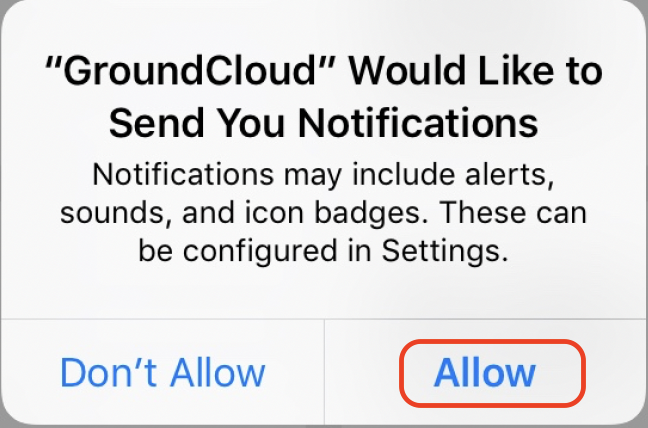
You should now get asked your permission to allow both location services and notifications for the GroundCloud app. It’s very important to tap on “Allow” for both of these:
If you’re not quite sure you tapped on “Allow” for the location permission, go to the iOS Settings app…
![]()
…and tap on “Privacy” on the left and then “Location Services” on the right. Scroll down to the GroundCloud app:
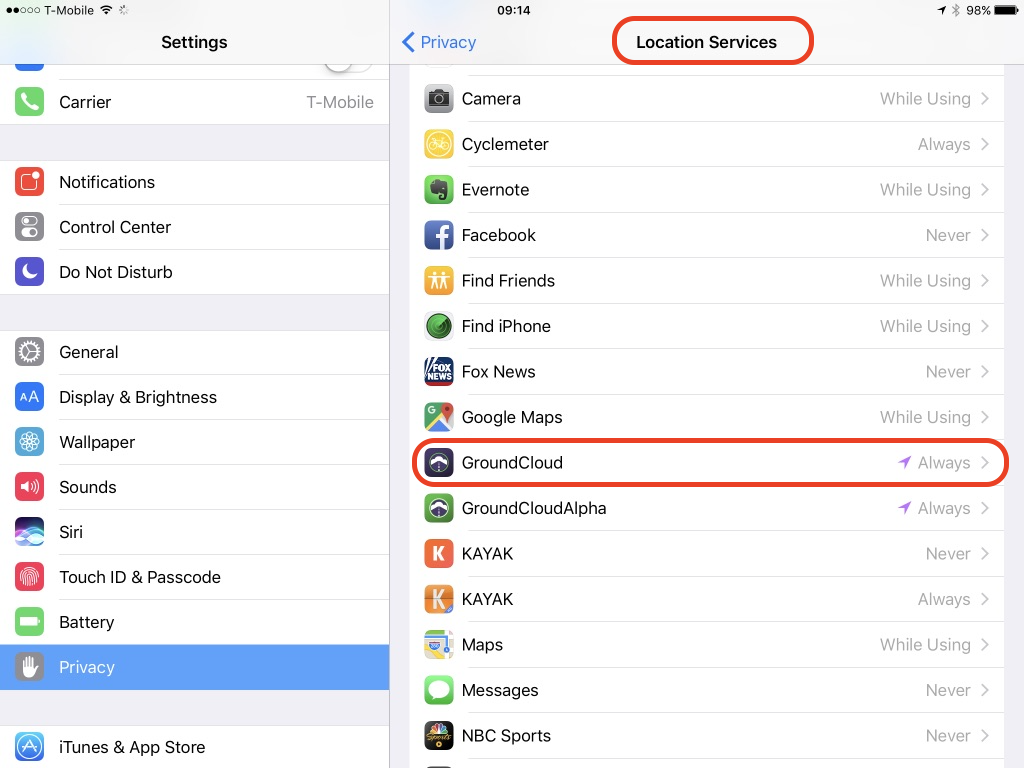
Ensure the setting says “Always”. If it says “Never” you must change it to “Always” for the GroundCloud app to work properly.